

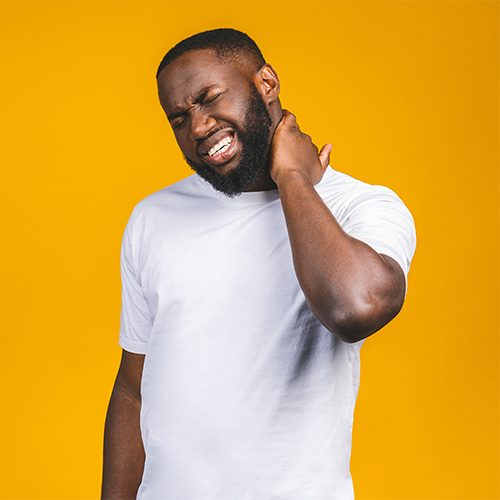
12 Simple Exercises for
Neck and Shoulder Pain Relief
The neck is one of the most complex set of joints our body.
Seven of the smallest vertebral bones in our body. And sitting on top of them, is a big lump of about 15 pounds.
If the head were to balance perfectly atop the cervical vertebrae, there would be no issue, as muscles would not need to fire significantly to keep it there.
When we sit for a good portion of the day, like most of us do. We tend to allow our head to drift forwards. The muscles that keep our head balanced after work to stop the head from moving further forward. When we sit for hours of the day, then those muscles are working for hours of the day.
Overtime of these muscles become strained, and pain ensues.
One of the issues that can compound neck problems is the foundation on which it is built.
When there is asymmetry throughout the body or a postural issue, neck pain is inevitable.
In order to overcome neck pain it is mandatory to improve the overall posture of the bod
This comes from the ground up.
Over and over, I've seen neck pain make small improvements from neck work alone and massive improvements from an overall postural improvement program.
Neck strengthening and postural improvement exercises
A1. Table Rocks 3 x 10-15
Start sitting on the floor with your hands on the floor, fingers pointing behind you.
Squeeze your butt and back of the shoulders/tricep to lift your hips up into a table (top) position.
In the top position, keep your chest open and your belly button pulled into the spine.
Lower back toward the floor, but don't let your butt touch the ground.
Repeat
A2. Jefferson Curl 3 x 5-8
Start standing and holding a barbell - depending on your mobility, you may need to be elevated on a box or similar.
Start by tucking your chin, pulling your belly button toward your spine, and rolling your spine down segment by segment. Feel each vertebrae separate from the next. At the bottom position engage your hip flexors and reach down as low as you can.
The reverse movement, is exactly the opposite. Start by tucking your pelvis and rolling your spine up the debris by vertebrae until you get back to a standing position.
This move can be done bodyweight only, or loaded anywhere up to body weight on the barbell - of course this takes some time to condition to.
B1. Thoracic Self MFR
This one can be done with a Rumble Roller, but I find it far more satisfying to use The Stick
.
Lay on the ground face up. Place The Stick so that the pressure is on the interesting spots along the part of your spine between your shoulder blades.
Let your tissue sink in around The Stick.
Apply torque by gently lifting the handle of The Stick toward your ear and then breathe deep. can be opened up with VERY deep breathing.
As you breathe in, the vertebrae will naturally open into extension, and as you breath out, they will go into flexion. This movement can be enough to help free up any fixations with the ribs.
B2. Suboccipital Self MFR
Lay on the floor with a self myofascial release peanut under the base of your skull (at the top of your neck).
Breathe and let the soft tissue melt into the peanut. Then move your eyes up and down, left and right.
The eyes are hard wired to the muscles you are working on, and will help to facilitate the release.
C1. Wrestlers Neck Bridge 3 x 8-10
Start in a kneeling position, and place your head on the ground with your hands next to it for support.
With support from your hands, roll onto the back of your head, and then press back out.
C2. Plow 3 x 8-10
The plow is basically the end range of motion of a wrestlers bridge.
The key here is increasing the 'comfortable' range.
Activate the muscles of the throat and pull the belly button toward the spine as you pull the hips further over your head.
Listen to your body for this drill, it is very possible to overdo it.

These exercises are nothing fancy, they are accessible by just about everyone, perhaps with some modification. You will need some equipment to complete this protocol: A barbell, A Self Myofascial Release Peanut and The Stick.
The key is consistency.
One of the things I pride myself on, is the ability to make gains well into middle age, and to have a body that is more resilient than it has ever been.
For me longevity is key.
The more people I speak to, the more I hear that what they really want from their fitness program is this resilience - bendiness and strength... and that comes from the consistency. Regular training to overcome (arguably) the modern world's #1 problem - sedentary lifestyle.
For more information check out my book 'The Bendy Strength Bible'.
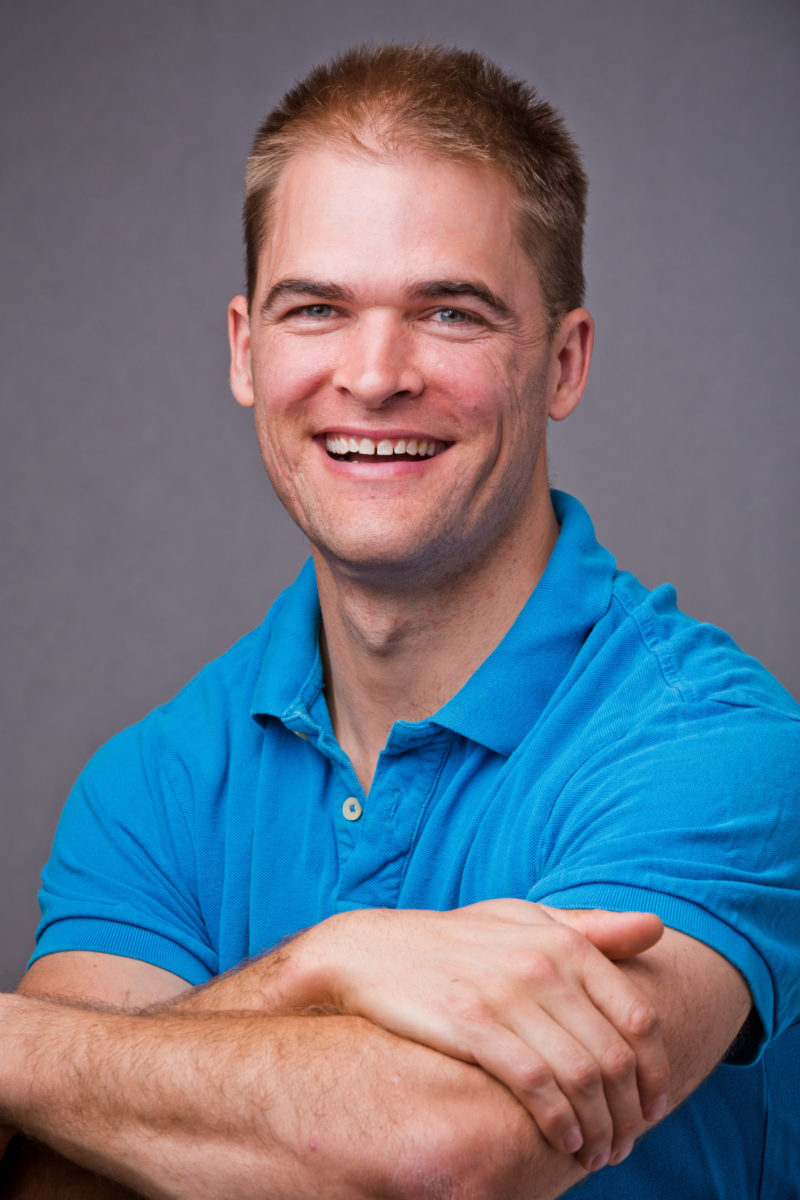
Hugh Norley | Gentle Myofascial Release Therapist
Hugh started his health and fitness journey when he was a teen and overcoming his own debilitating leg pain through movement and massage.
He discovered that the key to his pain was in the ‘Myofascia’.
Hugh completed a Diploma in Integrated Body Therapies in 2003; he then continued to deepen his study into Myofascial Release, by studying at many schools including Myofascial Release, Personal Training, Craniosacral therapy Fascial Stretch and Structural Integration (Rolfing).
His hands on technique began as ‘deep tissue’, then, with the birth of his 2 boys, found that he needed a more gentle style in order to help them.
Nowadays, his hands on sessions use gentle release techniques that focus on systematically releasing adhesions in the soft tissue. His technique is gentle enough to be used on everyone from children, through the elderly, yet so potent that athletes will fell the results from as little as one session.
© 2024 Gentle Myofascial Release. All rights reserved.